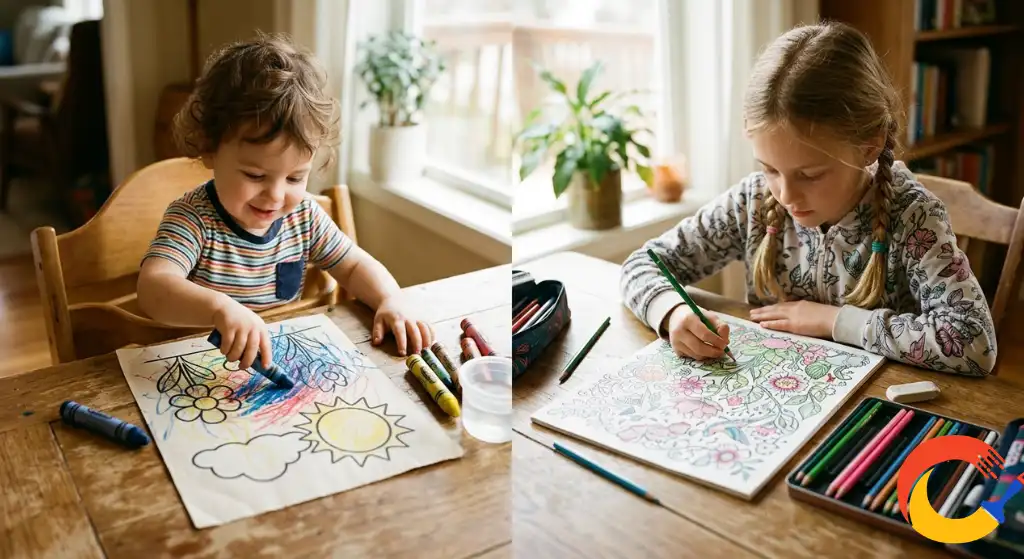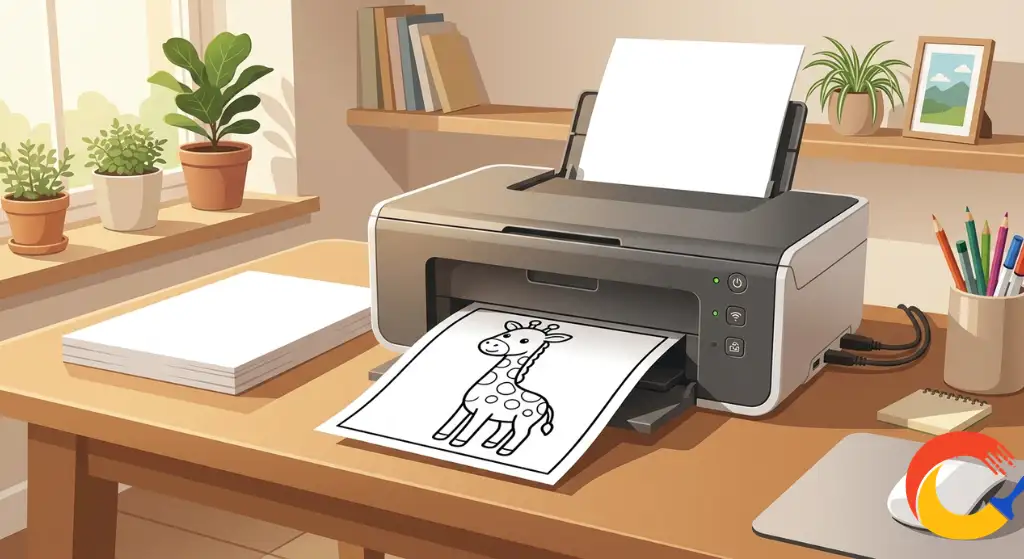
Here’s something nobody tells you when you first start printing coloring pages at home: it’s not as simple as hitting “print” and walking away. At least, not if you want the lines crisp, the paper sturdy enough to survive a determined six-year-old with a marker, and the colors looking the way they’re supposed to.
We’ve spent a long time thinking about this, partly because we hear from parents and teachers fairly often who run into the same handful of problems. The lines come out faint. The paper buckles the second a marker touches it. The page prints too small, or weirdly off-center, or with a gray cast that wasn’t there on the screen. None of these are user error, exactly. They’re just things nobody really explains, because printing feels like it should be obvious.
So here’s the full breakdown, the kind of thing we wish existed the first time we tried to print a stack of pages for a classroom and ended up with half of them looking washed out. This covers everything from picking the right paper to troubleshooting that one printer setting that ruins everything if you forget to check it.
Start With the File, Not the Printer
Before any printer setting matters, the file itself needs to be right. Every coloring page on our site is offered as a high-resolution PDF, specifically because PDFs preserve sharp lines in a way that image files like JPGs sometimes don’t. If you’ve ever printed a coloring page and the outlines looked slightly blurry or pixelated, there’s a good chance the original file was a low-resolution image rather than a proper print-ready PDF.
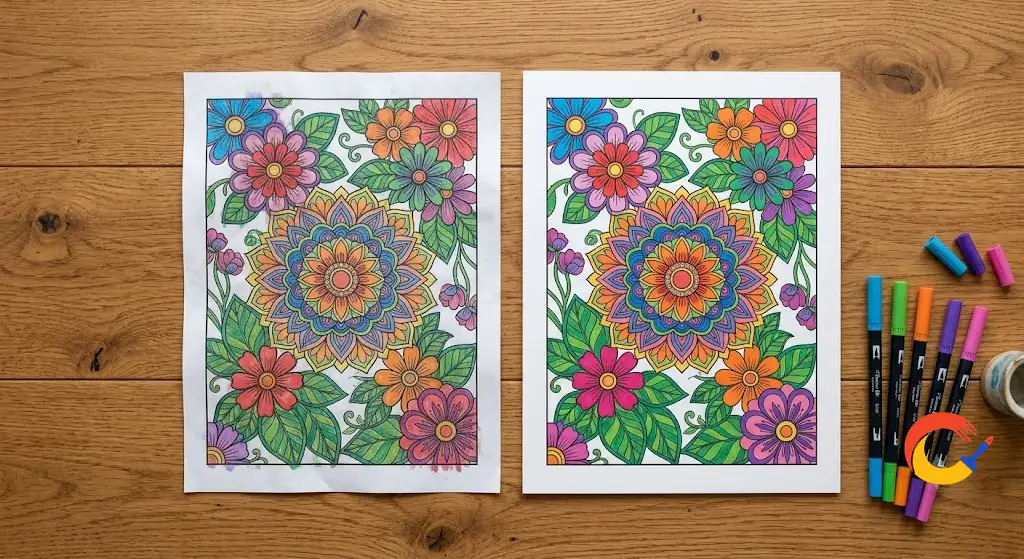
This matters because a coloring page is really just line art, and line art is unforgiving. A photograph can lose a little sharpness and still look fine. A thin black outline that’s even slightly blurry becomes hard for a kid to color inside of, which somewhat defeats the purpose. This is especially true for anything with fine detail, like our intricate mandala designs, where a soft or pixelated line can turn a beautiful detailed pattern into a confusing mess. When you’re choosing where to get pages from, a PDF labeled for print, ideally at 300 DPI, is what you want. That’s the standard for crisp printing, and it’s what keeps a giraffe’s outline looking like a giraffe instead of a fuzzy gray blob.
The Paper Matters More Than You’d Think
This is probably the single most underrated factor in how a coloring page turns out, and it’s almost entirely about what happens after the printing is done, not during it.
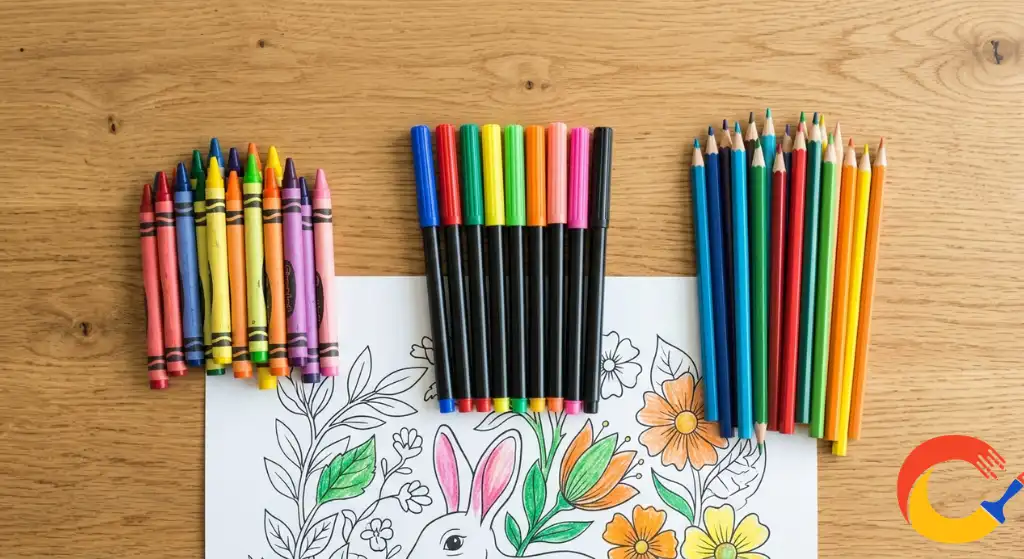
Standard printer paper (20 lb) is fine for crayons and colored pencils. It’s what most home printers are loaded with by default, and for a quick page that’s going to be colored once and then proudly stuck on the fridge, it does the job.
Cardstock (65–110 lb) is the better choice if markers are involved, especially the kind with a lot of ink, like dual-tip markers or anything advertised as “blendable.” Regular paper soaks up marker ink fast, and once it’s saturated, it starts to warp, bleed through to the next page, or tear if a kid presses too hard. This comes up a lot with designs that have large, open areas meant for bold coloring, like our kawaii-style pages, which tend to look their best with solid, even marker coverage rather than the streaky look that happens on thin paper. Cardstock holds up. It feels sturdier in hand too, which oddly enough seems to make kids treat the finished page a little more like a piece of art worth keeping.
If you’re using watercolor pencils or actual watercolor paints, that’s really the only situation where you need true watercolor paper. It’s overkill for crayons or regular markers, so don’t feel like you need to stock up on it unless wet media is specifically part of the plan.
One more thing worth mentioning: matte paper, not glossy. Glossy paper looks nice in a photo album, but it resists colored pencil and can make markers smear instead of absorbing properly. Matte is what you want for anything that’s actually going to be colored.
Getting the Printer Settings Right
This is the part most people skip, and it’s the part that quietly ruins more pages than anything else.
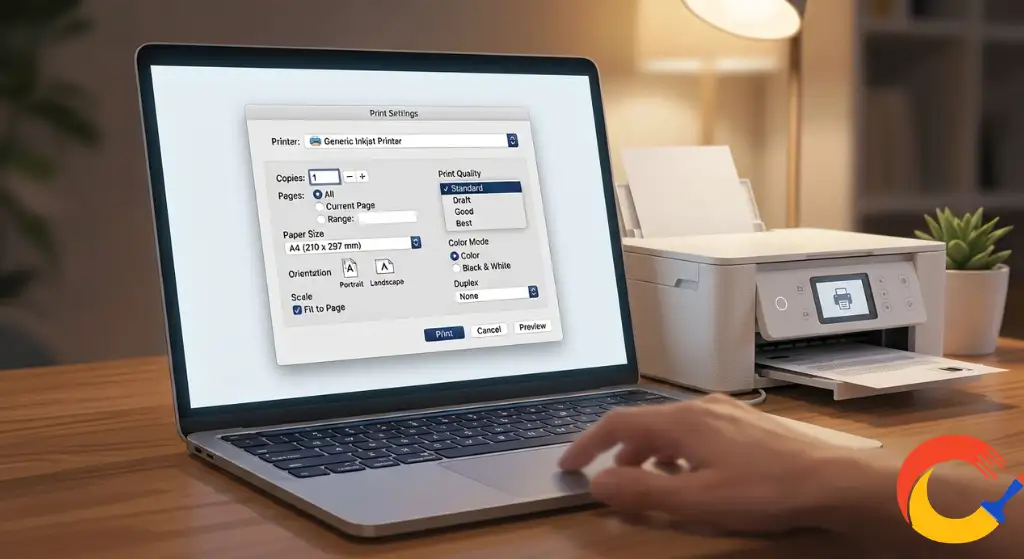
Set the paper size correctly. Almost everything we offer is designed for standard US Letter size (8.5″ x 11″). If your printer defaults to A4 or some other regional size, the page can print slightly cropped or oddly scaled. It’s worth checking this setting once and then not worrying about it again, but it’s easy to overlook the first time.
Choose “Fit to Page” or “Actual Size,” not “Shrink to Fit” by default. Some printers, especially when printing PDFs through a browser, default to a setting that shrinks the page slightly to “fit margins.” For most coloring pages this barely matters, but for anything with detail near the edges, like a full-bleed background, it can crop content you actually want to keep. If a page looks like part of the design is missing, check this setting first.
Print in “Best” or “High” quality, not “Draft” or “Economy.” Draft mode is designed to save ink by using less of it, which sounds great until you realize it does this by making lines lighter and thinner. For coloring pages, this is the opposite of what you want. The lines need to be dark and clear enough that a child can actually see where they’re supposed to stop coloring. If you’ve ever printed a page where the outline looked more gray than black, draft mode is almost always the reason.
Use grayscale or black ink only, not color, even if your printer defaults to color mode. Coloring pages are pure black-and-white line art. Printing them in “color” mode sometimes causes printers to use a slightly warm or cool tint on the black, which isn’t a problem exactly, but it does use up color ink for no real benefit. Switching to grayscale or “black ink only” in your print settings saves ink and tends to produce a cleaner, truer black line.
If you want a deeper, more technical explanation of how DPI and print resolution actually work, How-To Geek has a clear breakdown of print resolution settings that’s worth a quick read if you’re curious about the “why” behind some of this.
Printing From a Phone vs. a Computer
A lot of people print directly from their phone these days, and it mostly works fine, with one caveat. Mobile browsers sometimes default to a “fit to screen” scaling that isn’t quite the same as the standard print scaling on desktop. If a page prints noticeably smaller than expected from a phone, try opening the PDF in a dedicated PDF reader app instead of printing directly from the browser preview. Most phones have one built in, and it usually respects the original page size more accurately than a quick browser print does.
If your printer supports it, printing through Google Cloud Print, AirPrint, or a manufacturer’s printing app (like HP Smart or Canon PRINT) instead of the basic share-to-print function also tends to give you more control over paper size and quality settings than the default mobile print dialog does.
What to Do If the Print Looks Faint or Streaky
If lines are coming out lighter than expected even with quality settings turned up, the issue is almost always one of three things:
Low ink levels. This is the most common cause by far. Even when a printer doesn’t explicitly warn you, ink that’s running low produces noticeably lighter blacks before it fully runs out. Running a nozzle check or print head cleaning cycle from your printer’s settings menu can sometimes restore better quality temporarily, but if the cartridge is genuinely low, replacing it is really the only fix.
Printer driver settings overriding your choices. Sometimes the print dialog in your browser or PDF reader says “Best Quality,” but the printer’s own driver software has a separate setting that’s still set to a lower quality default. It’s worth checking your printer’s own software (not just the print popup window) if pages keep coming out faint despite your other settings looking correct.
An outdated print driver. This sounds technical, but it’s usually a two-minute fix. Most printer manufacturers (HP, Canon, Epson, Brother) have a support page where you can download the latest driver for your specific model, and outdated drivers occasionally cause exactly this kind of inconsistent print quality.
Saving Ink Without Sacrificing Quality
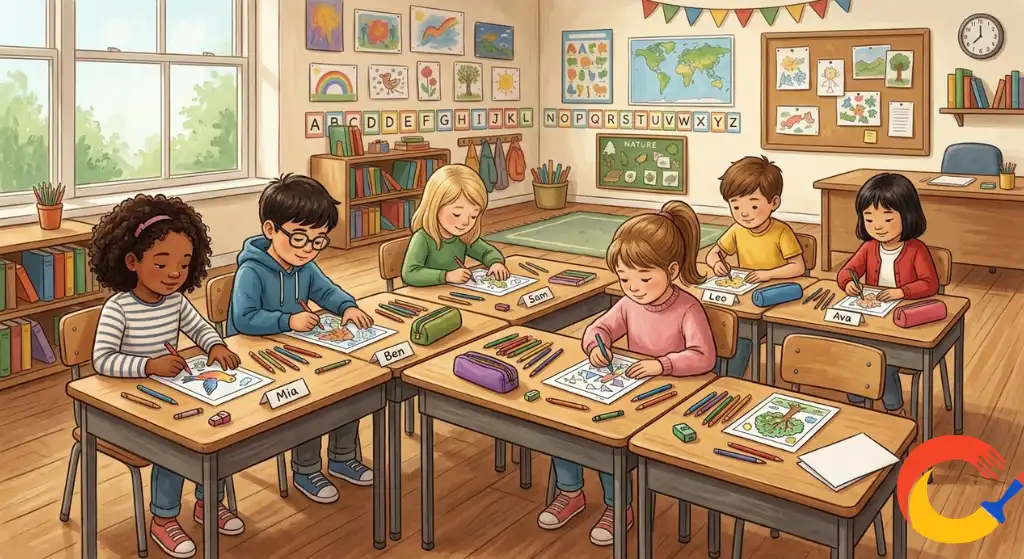
If you’re printing a lot of pages, like a full themed collection for a classroom or a birthday party activity table, ink costs are a real consideration. This is especially common around the holidays, when teachers and parents are printing entire sets at once, like our back to school coloring pages or a full holiday collection for a classroom party. A few things genuinely help here:
Print in grayscale rather than color, as mentioned above. Coloring pages don’t need color ink at all, and accidentally leaving a printer in color mode is one of the most common ways people burn through expensive color cartridges for no visual benefit.
Consider a slightly lower quality setting for large batches where the lines are already bold and simple, like designs aimed at toddlers, such as our first day of school coloring pages. A four-year-old coloring a thick-outlined shape isn’t going to notice the difference between “Best” and “Normal” quality the way you might on a highly detailed adult mandala page. Save the highest quality setting for the pages where fine detail actually matters, like our animal mandala designs, where every line genuinely counts.
If cost is a significant concern and you’re printing dozens of pages regularly, it may be worth comparing the cost-per-page of ink cartridges versus a laser printer, which the Consumer Reports printer buying guide covers in more detail if you’re considering a printer upgrade specifically for high-volume home printing.
A Few Things People Don’t Expect
Cardstock can jam some home printers. Heavier paper occasionally struggles to feed through inkjet printers designed mainly for standard paper. If you’re using cardstock, feed sheets one at a time through the manual or rear tray if your printer has one, rather than loading a thick stack into the main tray.
Letting prints dry for a minute before stacking them matters more than you’d think, especially with inkjet printers. Stacking freshly printed pages immediately can occasionally cause minor smudging or ghosting onto the back of the next sheet, particularly in humid weather.
Double-sided printing isn’t recommended for coloring pages that are going to be colored with markers, even if your printer supports it. The ink from one side coloring through can affect the image on the back. If you want to save paper, printing single-sided and using the back of the sheet for notes or a printed activity sheet works better than printing two coloring pages back to back.
Putting It All Together
If you only take away three things from all of this, make it these: use the actual-size PDF and check your paper size setting before printing, switch to “Best” quality instead of draft, and choose cardstock over standard paper if markers are involved. Those three adjustments alone solve the vast majority of printing problems people run into.
Everything else here is worth knowing if you print often or if you’ve run into a specific issue, but those three basics will get you a clean, properly sized page with crisp lines almost every time.
If you’re ready to put this into practice, browse our full library of printable coloring pages and pick something to test these settings on. If you’re printing for a calming, mindful session rather than a kids’ activity, our article on why mandala coloring reduces stress is worth a read before you start. And if you’d rather skip printing altogether for a quick session, our free online coloring tool lets you color directly in your browser with no paper or ink required at all.